Recently while working on a free-lance project, a Marriage Website for one of my friend, I happened to create a Guestbook for that website. After which, I decided to write a tutorial on how to create a guestbook in case someone might need it. If you do not know what a guestbook is, in real life a guestbook is basically a diary kept at various places and for various occasions where people can leave their wishes or feedback for any event. In a similar way, an online guestbook is a service, which enables you to allow your visitors to leave comments and feedback for any event or any product, which is visible to the public.
Well, developing a Guestbook is not a difficult task. It is pretty simple if you know what you are required to do! (Basically, for any problem, if you know what you are supposed to do, it’s pretty easy!). Let me pen down the basic steps involved in development of a guestbook.
- A user is displayed a form, which he or she must fill out.
- A confirmation message is displayed to the user when the comment is saved in the database.
- A user can browse through all the comments posted till now on the website.
To solve this simple problem, we will make use of PHP and as always, I would be using my favorite text editor, Notepad++. If you don’t use Notepad++, I highly advise you to use it. Read more about it here. Also, we will be required to use a database to store the comments and information about the user. We will use a MySQL Database.
- Using Notepad++ for enhanced Programming Experience
Guestbook in PHP
Let’s get started with the process of building our very own guestbook.
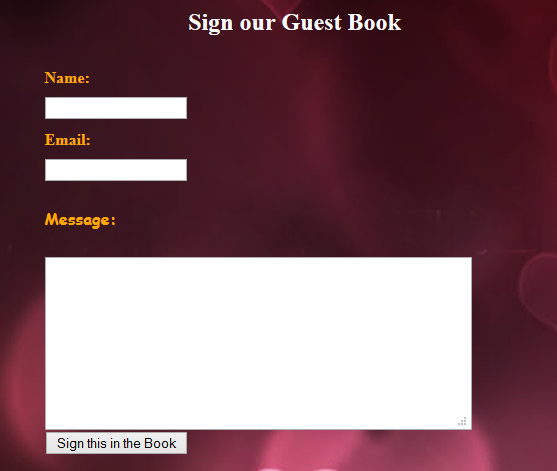
Guestbook Form
In this code, we basically redirect the form to a PHP page on our server named _addcomment.php_ and then we do the main programming part there.
- Create a new HTML page, and in the body tag of the page, add the following code.
<form action="addcomment.php" method="post" name="guest">
  Name:    <input type="text" name="name" />

  Email: <input type="text" name="email" />

  Message:

  <textarea cols="50" name="message" rows="10"> </textarea>

  <input type="submit" value="Sign this in the Book" />
</form>
- Now, if you want to add a validation check for the name and email fields, add the following JavaScript code to your head tag.
<script type="text/javascript">
  function Validate()
  {
  var x=document.forms["guest"]["email"].value;
  var y=document.forms["guest"]["name"].value;
  if(y==null || y=="")
  {
  alert("Please enter your Name! ");
  return false;
  }
  if(x==null || x=="")
  {
  alert("Please enter your email address!");
  return false;
  }
  var atpos=x.indexOf("@");
  var dotpos=x.lastIndexOf(".");
  if (atpos<1 || dotpos<atpos+2 ||="" dotpos+2="">=x.length)
  {
  alert("Not a valid e-mail address");
  return false;
  }
  else
  return true;
  }
  </atpos+2>
</script>
- Then add the following attribute to the form tag.
onsubmit="return Validate();"
- The complete Form Tag will now look somewhat like this.
<form
  action="addcomment.php"
  method="post"
  name="guest"
  onsubmit="return Validate();"
></form>
The SQL Part
We now need to create a MySQL table in a database to save our data entered by the user. To do this, we need to run the following query on our MySQL Server. On our server, we had to use phpMyAdmin to create a table in our database.
 CREATE TABLE guestbook(
id int(5) NOT NULL auto_increment,
name varchar(60) NOT NULL default ' ',
email varchar(60) NOT NULL default ' ',
message text NOT NULL,
Primary key(id)
);
The PHP Files
Now let’s get creating our PHP files. We need one file which will add the comment to the user and then display a confirmation or error message and one file which will display all the comments stored in our database. First let’s make the addcomment.php file.
- Create a new PHP file and paste the following code in there.
 <?php
  $host="localhost"; //Add your SQL Server host here
  $user="root"; //SQL Username
  $pass=""; //SQL Password
  $dbname="slashcoding"; //SQL Database Name
  $con=mysqli_connect($host,$user,$pass,$dbname);
  if (mysqli_connect_errno($con))
  {
    echo "<h1>Failed to connect to MySQL: " . mysqli_connect_error() ."</h1>";
  }
  $name=$_POST['name'];
  $email=$_POST['email'];
  $message=$_POST['message'];
  $sql="INSERT INTO guestbook(name,email,message) VALUES('$name','$email','$message')";
  if (!mysqli_query($con,$sql))
  {
    die('Error: ' . mysqli_error($con));
  }
  else
    echo "Values Stored in our Database!";
  mysqli_close($con);
?>
- Save this file as addcomment.php in the same folder as the above created HTML file.
- Now, again create a new PHP file, which will display the comments and the names of the people to the public. Name this file
_guestbook.php_. - Add the following code to the file.
 <?php
  $host="localhost"; //Add your SQL Server host here
  $user="root"; //SQL Username
  $pass=""; //SQL Password
  $dbname="slashcoding"; //SQL Database Name
  $con=mysqli_connect($host,$user,$pass,$dbname);
  if (mysqli_connect_errno($con))
  {
    echo "Failed to connect to MySQL: " . mysqli_connect_error();
  }
  $result = mysqli_query($con,"SELECT name,message FROM guestbook");
  while($row = mysqli_fetch_array($result))
  { ?>
  <h3><?php echo $row['name']; ?></h3>
  <p><?php echo $row['message']; ?></p>
  <?php
  }
  mysqli_close($con);
?>
- Be sure to change the variables (host, username, password, database, and table) in both the above created PHP files.
Well, that’s it. You are ready to fire it up with some CSS and set it live on your website. This was a quick and easy tutorial for beginners. I hope I enabled you to create a Guestbook for your website. Keep subscribed to Slash Coding for more such updates. You can subscribe via RSS Feeds, Liking our Facebook Page or by Following us on Twitter. It’s your pick! 😉